|
Recent Entries to this Blog
Is It Really.....?
Posted: 16 Mar 2015 Posted: 06 Oct 2014 Posted: 29 Aug 2014 Posted: 28 Aug 2014 Posted: 30 Jul 2014 All Entries |
Jewell's BlogRamblings from the Puget Sound
Getting Those Potted Plants in the Ground
Category: Starting and Maintaining the Garden | Posted: Sat Aug 17, 2013 6:58 pm This spring I had put small starts of hostas and other perennials and annuals into several large pots. I had finally decided where I wanted most of the hostas to go so it was time to dig some holes. Shovel in hand I got digging and filled the wheelbarrow with soil. Plants are in the ground and now there are a few less pots to worry about watering. 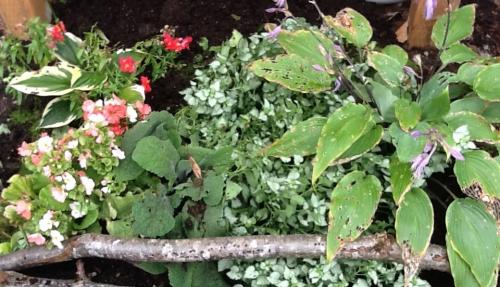
A few slug riddled hostas and perennials tucked into the ground ( photo / image / picture from Jewell's Garden ) Even with constant slug irradication measures the slugs still seem to find ways to survive and munch on most hostas. None of the hostas were taken to the ground so I guess I was successful. I should take out stock in Sluggo, slug bait, though. Now I am trying to visualize how the garden will look once the hostas and some of the other deciduous perennials die back. Some areas will have even larger holes than they do now so I am trying to plan how I might fill those holes. I will be dividing and moving ground covers. The cooler nights should help but I will have to be on top of the watering in this shady area if I want the transplants to survive. This is so much easier said than dragging around heavy hoses. 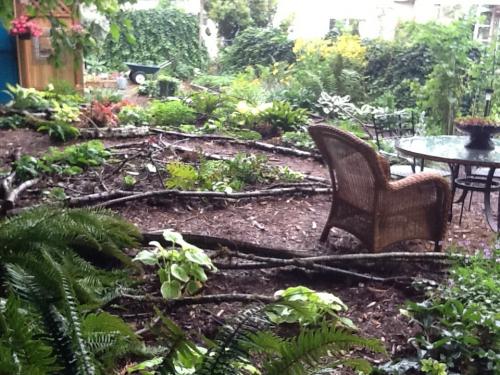
Woodland area from the back high spot ( photo / image / picture from Jewell's Garden ) 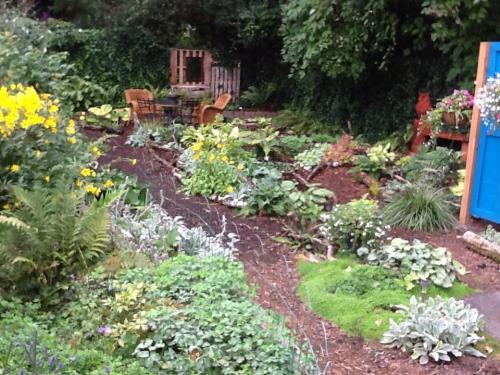
Woodland area from the low area looking east ( photo / image / picture from Jewell's Garden ) I am pleased with the size of the hostas purchased last year, and some of the big box hostas purchased this spring. They are all doing great and for all but one variety I can really see what their mature size will be. 
( photo / image / picture from Jewell's Garden ) 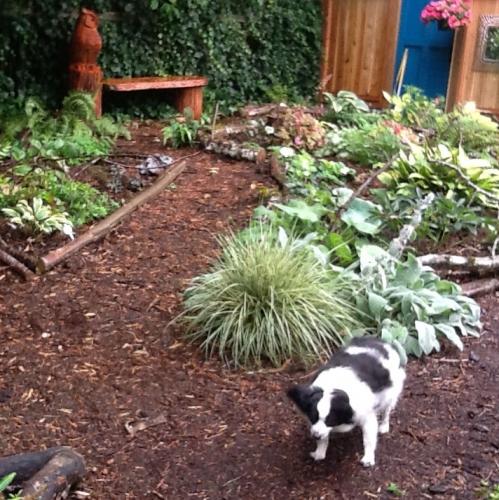
( photo / image / picture from Jewell's Garden ) 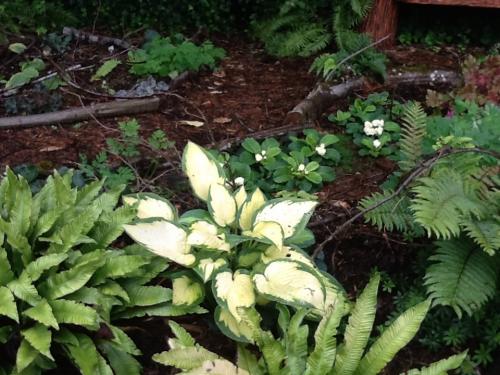
Harts tongue ferns, June hosta underplanted with BC ginger. Primroses are blooming again. Half of these are starts from earlier this summer. ( photo / image / picture from Jewell's Garden ) 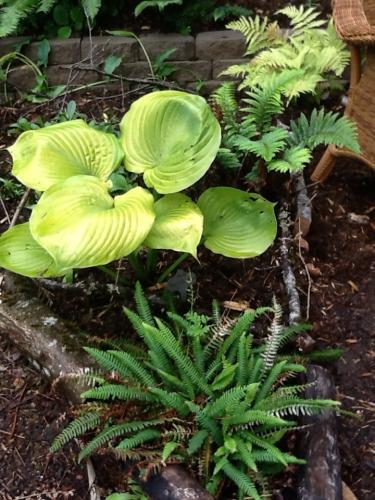
Sum and substance hosta with a variety of ferns and calla lilies ( photo / image / picture from Jewell's Garden ) Sum and substance is going to be a big beauty. 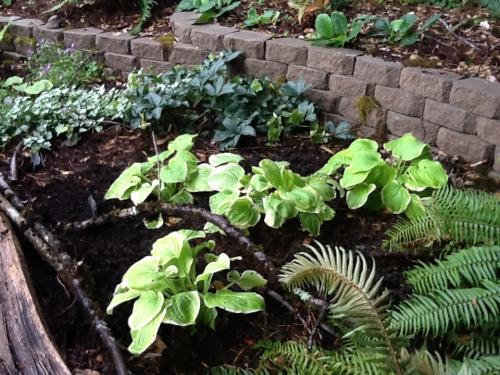
Fragrant bouquet hostas and hellebores ( photo / image / picture from Jewell's Garden ) The area with fragrant bouquet I think I will winter plant more pansies for ground cover and a little brightness in this very dark dry corner. 
Elegance hosta (I think) and impatiences ( photo / image / picture from Jewell's Garden ) In the previous photo you can see part of my hedging duties to do by elegance. The ivy hedge hasn't been trimmed this year. This hosta is also going to be a beautiful large stand out I think. Might be another area to move some ground cover into. It's neighbor powder blue is still too small to tell and only a very experience gardener could find it in this bad photo. Buying $5 hostas from growers gives you the smallest piece of started root. I did get some varieties i would not have otherwise. Guess it filled my collecting need. They are all growing but will take several years to see their true beauty. A few I are so small I am still keeping them in pots. Hopefully I won't loose any of them. Here are what some of the other tiny starts look like now. 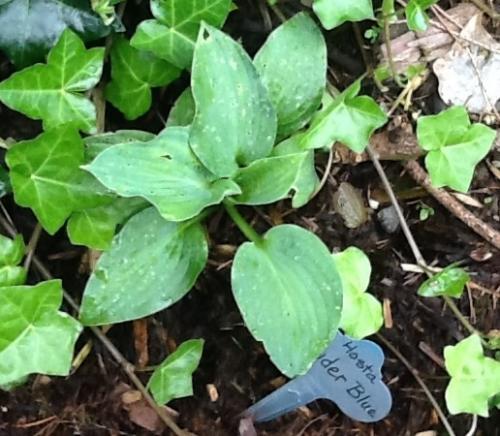
Powder blue start ( photo / image / picture from Jewell's Garden ) 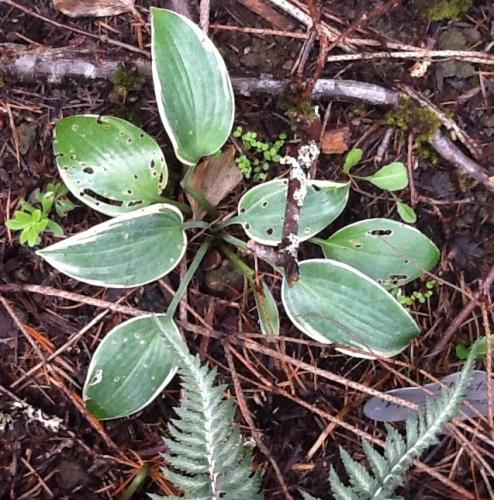
First frost start ( photo / image / picture from Jewell's Garden ) 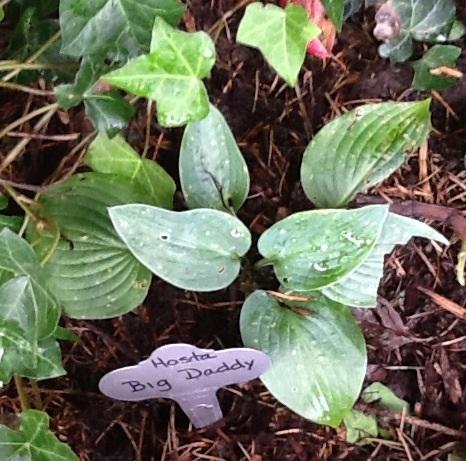
Big Daddy start ( photo / image / picture from Jewell's Garden ) 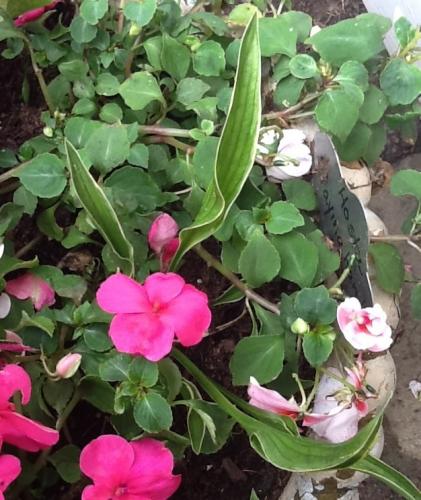
Praying hands hosta ( photo / image / picture from Jewell's Garden ) Happy gardening all. This blog entry has been viewed 468 times
What's Happening Today
Category: Summer | Posted: Sun Jul 21, 2013 10:27 pm Busy morning cleaning up the raspberries. Some sort of rodent had been driving Ciara the dobie crazy. She had dug trenches. She would lay in wait and charge the bushes. Her lunges had broken the raspberries down. Whether it was moles, or mice, or something larger I am not sure, but area is now cleaned, more open (no hiding critter spots) and the holes that were dug are filled in. Also potted up five raspberry plants for co-workers since I head to work tomorrow. A box came yesterday. Mini bearded irises arrived. I planted the mini iris I had ordered in the spring. I had forgotten that I had ordered them. There are three varieties and they are all fragrant. 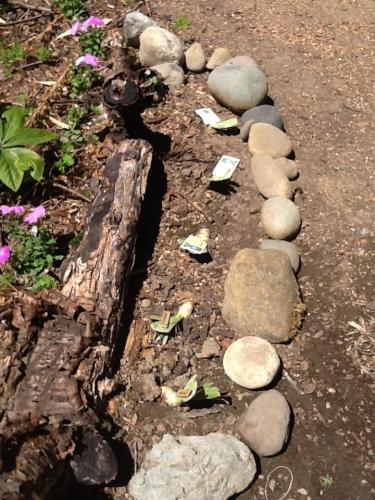
New mini iris ( photo / image / picture from Jewell's Garden ) It was time before a beak so I walked around checking out what's new in the blooming department. 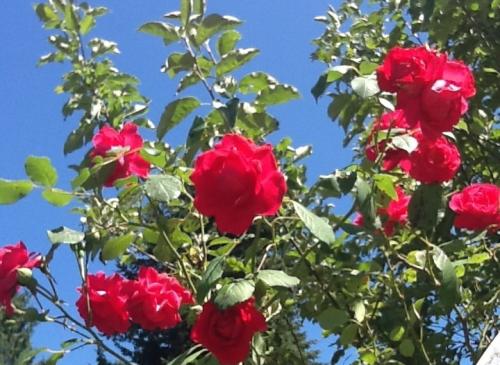
Blaze roses in front yard ( photo / image / picture from Jewell's Garden ) 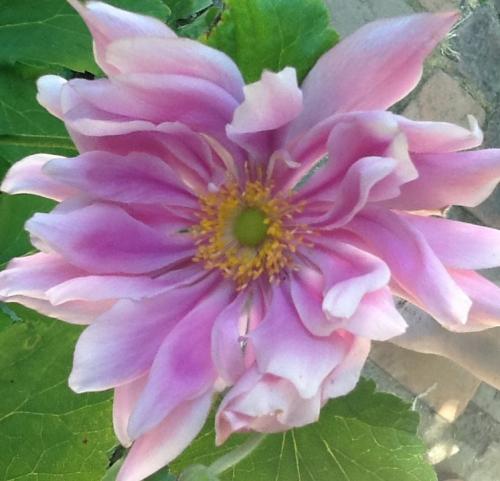
One fall anemone...very early ( photo / image / picture from Jewell's Garden ) 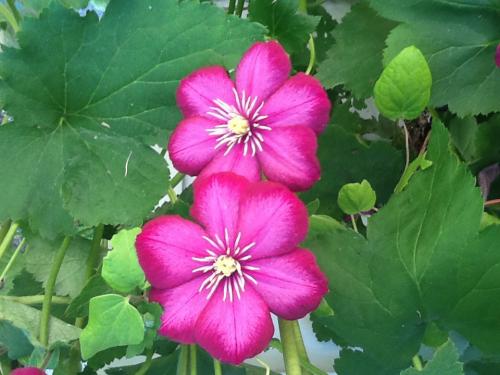
More clematis ( photo / image / picture from Jewell's Garden ) 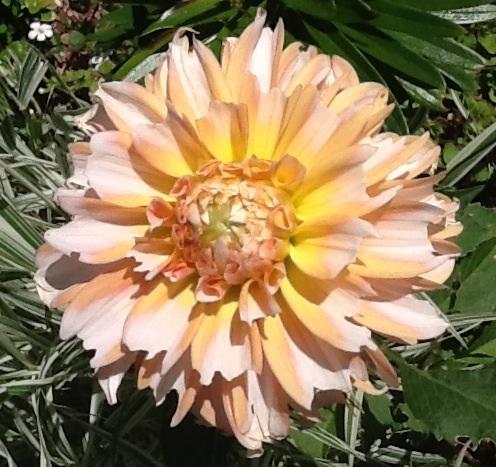
Unusual dahlia ( photo / image / picture from Jewell's Garden ) 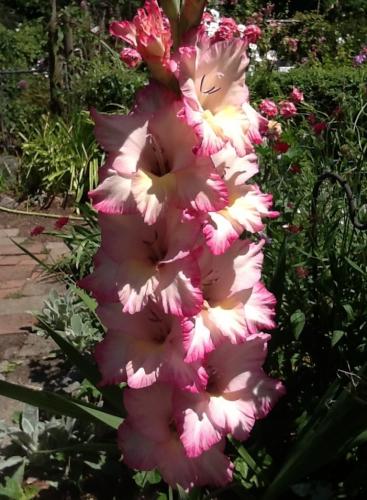
First glad ( photo / image / picture from Jewell's Garden ) Then it was time to tackle a project that has taken me some time to contemplate...two years. The rain barrels. I finally got the bricks and figured out how to level the area one barrel would be placed. Sledge hammer was needed to break up some left-over cement that had been dropped in that area. Gutters were trimmed up, flow piece installed. Need to pick up a strainer and a run-off pipe, but am happy with the result. It has been a challenge to plan for the rain barrels. The how and where to set the rain barrels up took some thought since our lot slopes from back to front. Of course our house is at the front with the roof line dumping primarily to the front of the lot. Some plants will be getting a little summer water that they usually don't get. Can't really water the part of the yard I would like, but every drop helps. 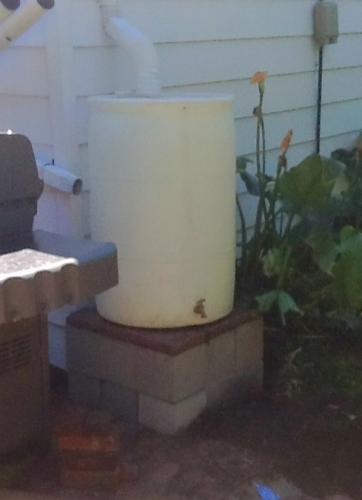
First rain barrel almost ready ( photo / image / picture from Jewell's Garden ) Now it is time to clean up and think about what we will have for lunch. 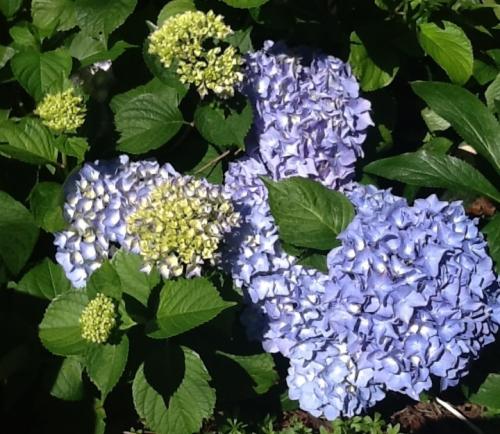
Hydrengea beginning to bloom ( photo / image / picture from Jewell's Garden ) This blog entry has been viewed 322 times
Project Cleaned Up
Category: Starting and Maintaining the Garden | Posted: Wed Jul 17, 2013 4:47 pm Having a part of my home disorganized can be frustrating for me. I am not a neat freak...pretty messy actually, but I need a sense of order. With the filbert removal and then working on the smoke shack's interior it was pretty disconcerting with all the mess. Finally got it cleaned up yesterday. It feels very good to have my patio space back. 
Cleaned up patio ( photo / image / picture from Jewell's Garden ) 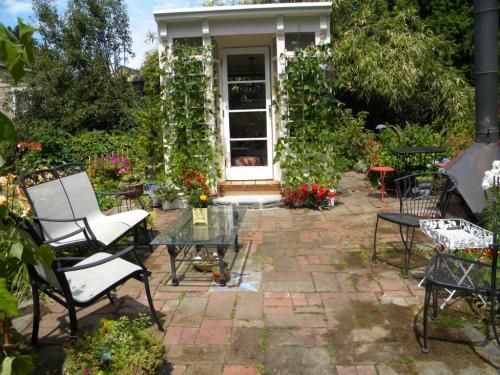
Place to sit and enjoy ( photo / image / picture from Jewell's Garden ) We are still cleaning up bits and pieces from having the filbert trees drug out and mulched and I am starting on the bamboo today. But the smoke shack is finished to a point where we can put the saw horses and tools away. A lot got accomplished on the shack: electrical, insulation, inside paneling and flooring are installed. Still need to urethane the floor and finish some of the trim. Painting to seal up the wood on the windows and porch will complete the job. All that needs to wait for payday. 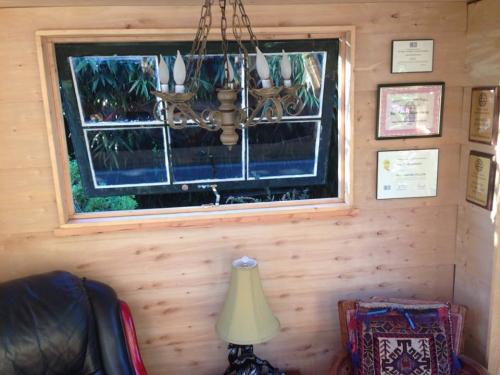
Paneling up to cover insulation and light ( photo / image / picture from Jewell's Garden ) 
Lights light up ( photo / image / picture from Jewell's Garden ) A grown-up play house, excuse me...cigar room. Much nicer than the old garden gazebo/tent and will get used year round just like the old structure. Really nice to be able to shut out the rain and mosquitos and not collapse under the snow. 
Bistro Table seating too ( photo / image / picture from Jewell's Garden ) 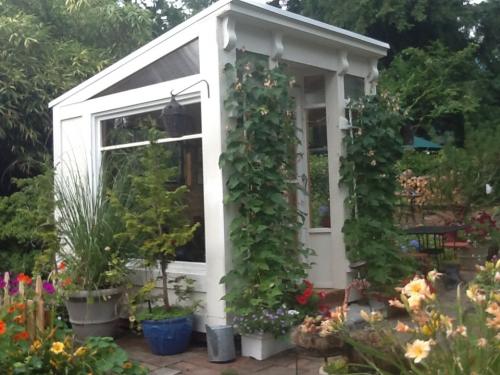
Coming out from the house ( photo / image / picture from Jewell's Garden ) Last edited: Wed Jul 17, 2013 11:35 pm This blog entry has been viewed 328 times
Moving and Planting Perennials
Category: Starting and Maintaining the Garden | Posted: Thu Jul 11, 2013 7:06 pm Although most people don't have the conditions to move perennials this time of the year living in a temperate climate makes it fairly successful endeavors for me. After taking care of some mole damage to one brick walkway and doing a little watering I could not wait any longer. The spotted calla lily needed to be moved. 
Lost calla lily ( photo / image / picture from Jewell's Garden ) I was shocked at the size of the volunteer columbine that had seeded itself on top of the calla lily. 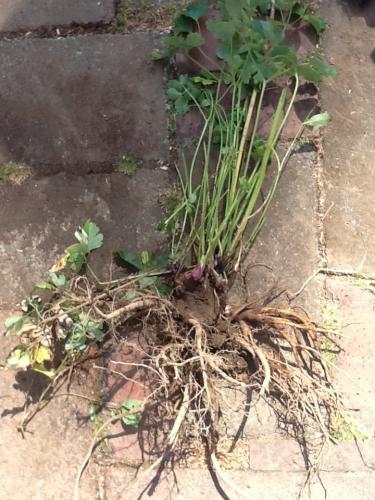
Bad columbine ( photo / image / picture from Jewell's Garden ) Into the compost with this volunteer with roots 12" wide and even longer. Never a shortage of columbines. I probably should be a little more ruthless with weeding them out, but do enjoy their spring blossoms. The good news! There were eight bulbs in the lost cluster of calla lily. A total surprise! Although the calla lilies are not looking like much now they will make a nice statement next summer and cannot get lost in their current location. 
Starts along the wall ( photo / image / picture from Jewell's Garden ) I continued on getting a pot of Tricyrtis formosana (Toad Lily) into the ground. 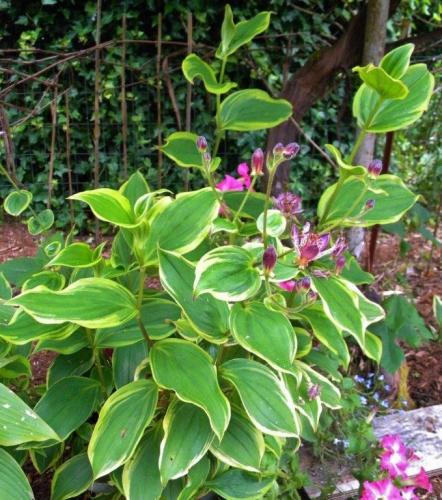
Tricyrtis formosana (Toad Lily) ( photo / image / picture from Jewell's Garden ) 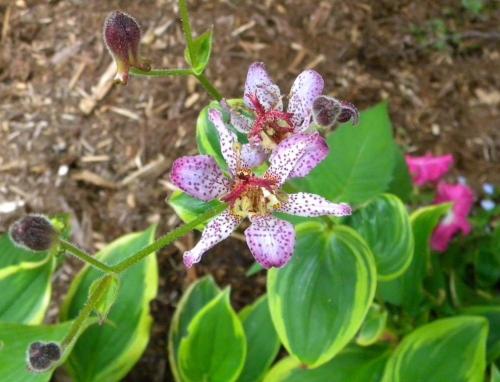
Tricyrtis formosana (Toad Lily) ( photo / image / picture from Jewell's Garden ) It was doing well where I had placed the pot so into the ground it went. Still have two more hostas to find homes for, but they are happy in their large pots for the moment. That went so well I dug a double hellebore to provide some winter structure in a bed. The hellebore is between a couple of hostas. Now to get out there and do a little more weeding. Will continue to explore planting options. This blog entry has been viewed 377 times
The Ex-Filbert Saga Continues.
Category: Starting and Maintaining the Garden | Posted: Sat Jul 06, 2013 9:50 pm Because of the bright spot created by the removal of the filberts I spent the morning moving plants. An autumn fern got broken from the falling branches as well as the tassel ferns. Then the new exposure to sunlight burned the fronds and turned them to crisps. These three ferns I found new homes for in the shade garden. Watered them in well and will hope for the best. They will make nice additions to that area. I am thinking I will be moving a couple of the hellebores into the edges of the woodland area. With so many hostas I want to make sure there is some winter interest. I am also still waiting to see what the mature sizes will be on many of the hostas. There may need to be a few adjustments over time or they may just need more time to get their full growth. Right now I am on the watt and see path. There were 10 pacific sword ferns under the filberts also. All but two got moved behind (on the north side) the smoke shack. The last two will probably get squeezed into that bed also. They look tattered and burned, but i decided not to clean them up at this time. What little fronds they have may help them settle in to their new hom. Once established they are no matinence at all and should relieve me from having to weed that bed since they are under planted with Pacific bleeding hearts and sweet woodruff. On the east side of the smoke shack I am hoping that the mop head hydrengea will fill in. It like several other plants was leaning toward the light and is very lop-sided. About 12 feet from the shack I planted the magnolia. I am thinking I should moved it farther north in that bed. I will have to think about that one. The raspberries are on. We had them for dinner last night and me and the dogs picked them as we worked in the yard traipsing back and forth. It was a good day to be out and working in the yard. I am bushed and ready for a short nap before tackling any other chores. This blog entry has been viewed 333 times
Comments (0) | Leave a Comment | Permalink
Trees and Limbs Fall
Category: Starting and Maintaining the Garden | Posted: Thu Jul 04, 2013 12:05 pm The filbert trees were planted the first year we moved in 30 years ago. A reminder of my childhood home and the filbert trees there. The trees became a major food source for birds and squirrels in the neighborhood. One year I counted three squirrel nests in them and another four in the surrounding trees. I had noticed one of the numerous trees planted by the squirrels in a neighboring yard was dying. The following year only bare branches were left. The same thing appeared to be happening on one side of our three tree clump. We removed the dead wood and used the branches to line the paths and garden beds. I didn't think too much about it since the trees were older and we used to keep them pruned up pretty small in the past. 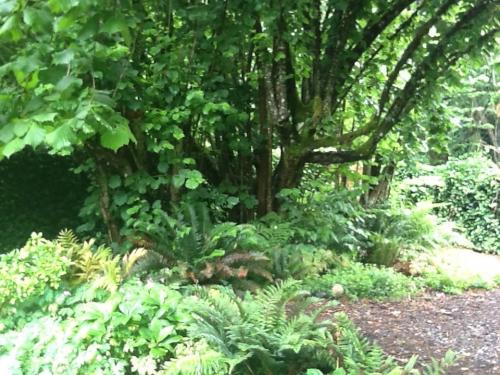
Filberts as they once were...a quiet shady area with ferns and woodland plants ( photo / image / picture from Jewell's Garden ) Then as I was browsing the gardening forums one day I noticed the mention of the Eastern Filbert Blight. Uuggh....more reading. Guess this fungal disease is destroying commercial filbert orchards in Oregon. I went out and looked at the branches that we were using to line the paths. Darn they had the same tell tale rows of holes that marked this fungus. It was from these holes that the spores are released. And I had thought they were holes from birds. Double darn. As a home gardener I could see it was having a similar affect on my trees. We had already removed several large branches that had become a danger. Now I knew it was not just age. It was time to take on the bigger project. Because the trees were so big and we had already had the joy of cutting several large branches we had decided to have someone come in and take them down for us. It is not an easy task hauling all the branches and limbs out of the yard, not to mention cutting the wood into usable pieces. It was nice having someone else do the majority of the work. 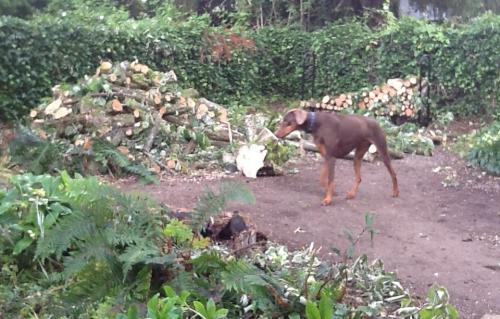
Filbert pile and open space now...now the squirrels won't tease Ciara ( photo / image / picture from Jewell's Garden ) We asked that the larger branches be cut to fit our wood stove. It will be used for firewood after it drys and is seasoned. There are still the stumps that will need to be ground out. We will have to rent the stump grinder...always another step. One step, two steps, on and on. 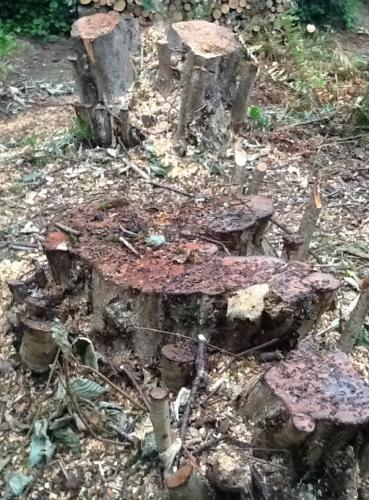
Stumps to grind ( photo / image / picture from Jewell's Garden ) This corner of the yard is suddenly exposed to the sun so many of the plants that weren't crushed sunburned. It looks like a little mini clear cut. I can now see many of the off spring that the squirrels have planted over the years in neighboring yards. Some are pretty good sized trees. At least I won't have to worry about a total loss of nuts for the squirrels and jays. I also won't have to worry about falling branches. 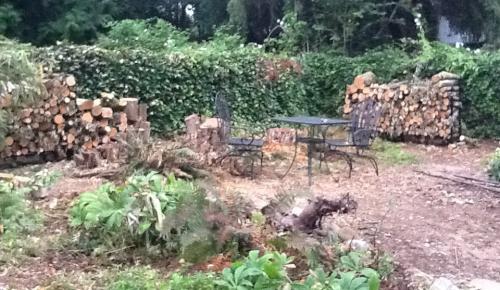
Mini clear cut to contemplate...what's next? ( photo / image / picture from Jewell's Garden ) Best of all...this is the sunniest part of the yard now. I will have to start thinking about how I want these new garden beds to be placed...and what can I plant in them? New things to try or what to move? Oh yeh, since the tree trimmers had a boom we also got the fir trees on the south side of the property line trimmed up. These trees were none existent when we bought the property. They were planted by the second tenants to the house since we have lived here. Unfortunately the trees were planted right on the fence line on the neighbors side. The needles have become a constant problem in the gutters and tracking into the house. Every time the wind blows the needles carpet the drive way and roof. Hopefully the trim job will help some. It was wonderful to see the additional light coming into the yard also. 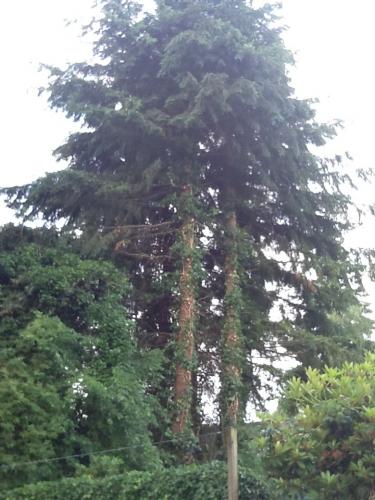
Fir trees limbed up on our side of the property line ( photo / image / picture from Jewell's Garden ) Sometimes I think that it is too bad there isn't a law here about restricting a neighbors sunlight. This is a rainy dark cloudy climate in the winter where every bit of light is so appreciated, especially in the winter. It is nice to have recaptured some sunny places in our yard. :-D Last edited: Thu Jul 04, 2013 12:59 pm This blog entry has been viewed 317 times
Chapter 5 Shade Garden and Storage Area
Category: Starting and Maintaining the Garden | Posted: Sun Jun 16, 2013 9:49 pm The garden storage area is finally finished. It has plenty of room for hiding my small stockpile of building materials, plant supports, plastic tool storage containers. 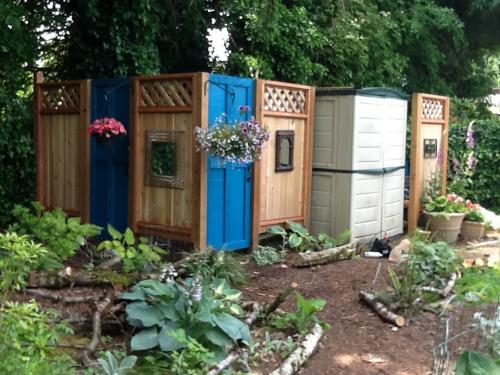
Storage area finished ( photo / image / picture from Jewell's Garden ) 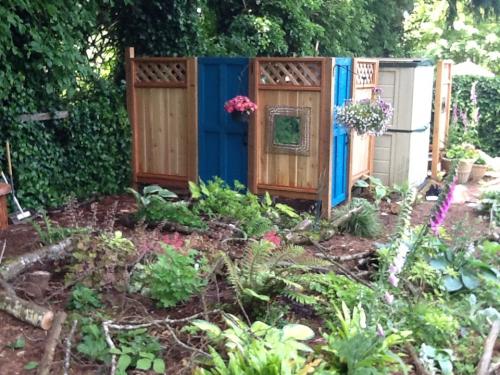
Storage area from another direction ( photo / image / picture from Jewell's Garden ) The woodland area is filling in, but needs a few plants moved around. I also need to be patient and wait to see how large some of the hostas will get. 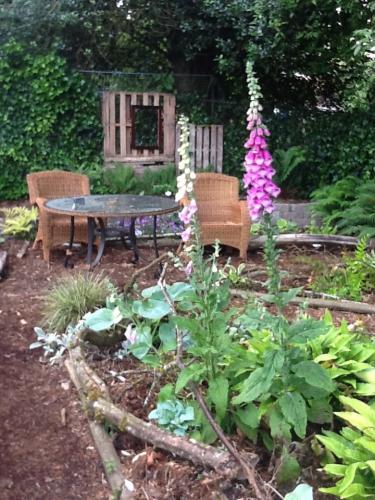
( photo / image / picture from Jewell's Garden ) 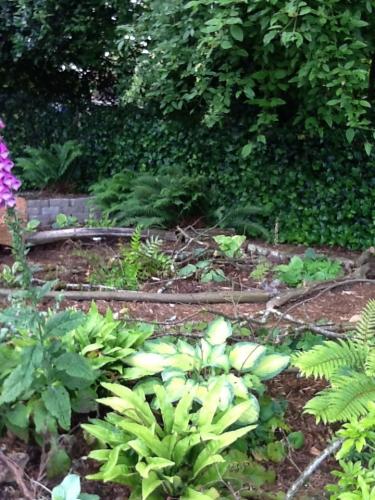
( photo / image / picture from Jewell's Garden ) 
( photo / image / picture from Jewell's Garden ) The sword ferns have all gotten their fronds and are quite large. 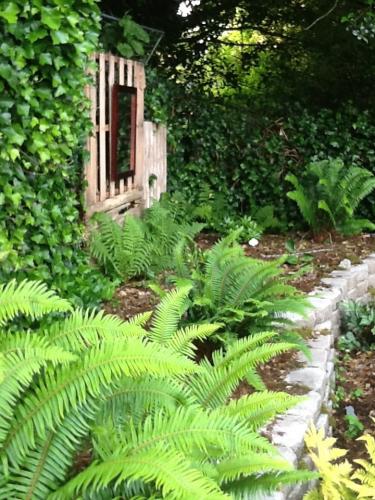
Sword fern wall ( photo / image / picture from Jewell's Garden ) No to do some major cleaning in the front yard.... This blog entry has been viewed 424 times
Hosta Green
Category: Spring | Posted: Sat Jun 08, 2013 5:34 am Here it is June, and it was mid May last year when bought my first hosta on sale at a big box store. It was 'Blue Vision' and the plants had some varigated sports underneath on several of the plants. I divided them. The sports haven't been as slug resistant, but they are hanging in there. The green plants of Blue Vision are the most vigorous of all the plants I have gotten. 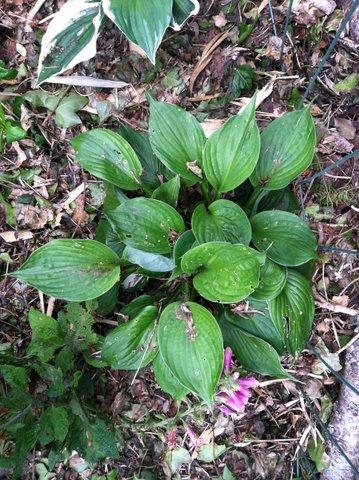
Blue Vision Hosta ( photo / image / picture from Jewell's Garden ) 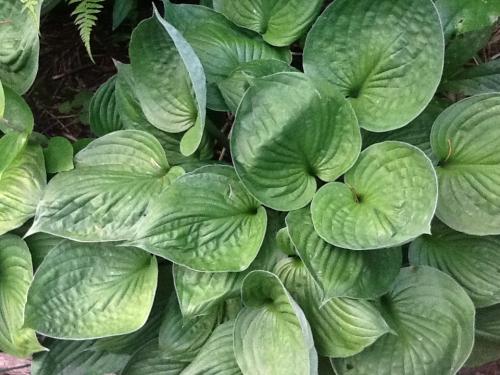
Blue Vision one year later ( photo / image / picture from Jewell's Garden ) Hosta June has been the most interesting. I bought four plants all identical then I moved two 10 to 20 feet away, out of the deep shade. Wow! How their color changed with the varying amounts of light. 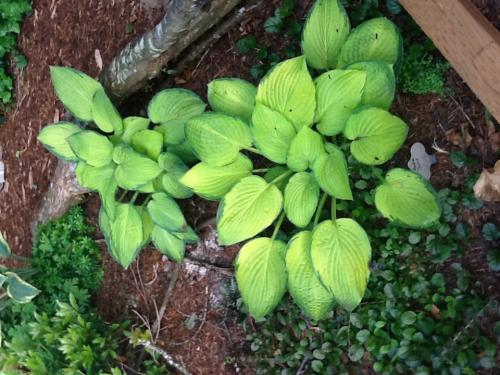
Original deep shade location for June ( photo / image / picture from Jewell's Garden ) 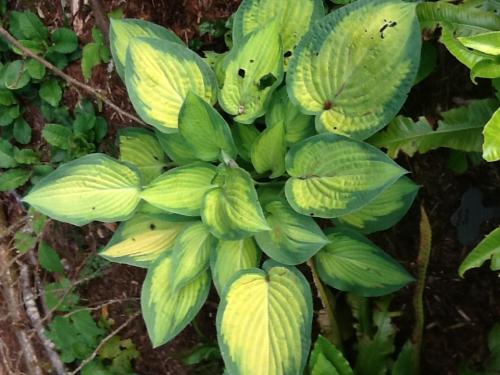
June with more light ( photo / image / picture from Jewell's Garden ) 
June with afternoon western sunlight ( photo / image / picture from Jewell's Garden ) Seems every time I get on a hosta forum there are all sorts of warnings about the hosta virus. Buying retail on sale is dangerous. Well I can afford a $5 plant. More than that and I cringe. Sorry specialty sales places I am making a nice small collection with out the big price. Here are a few other plants. Slugs definitely like hostas so hole are from them. 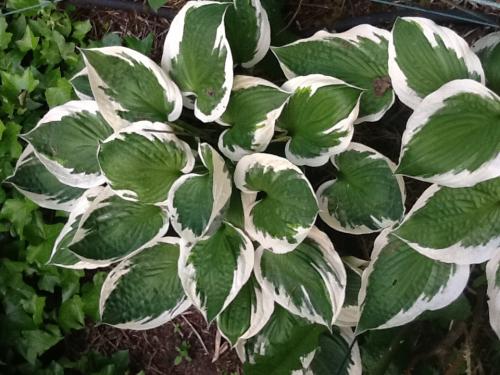
Patriot, very slug resistant and almost as vigorous as Blu Vision ( photo / image / picture from Jewell's Garden ) 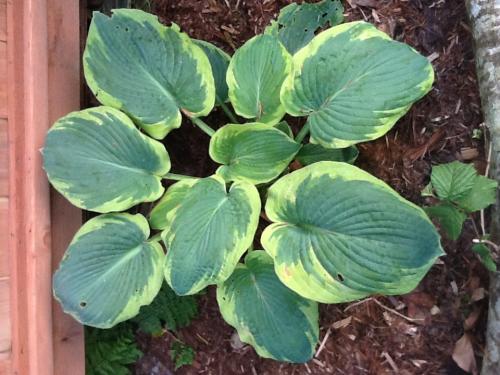
Francis Williams ( photo / image / picture from Jewell's Garden ) 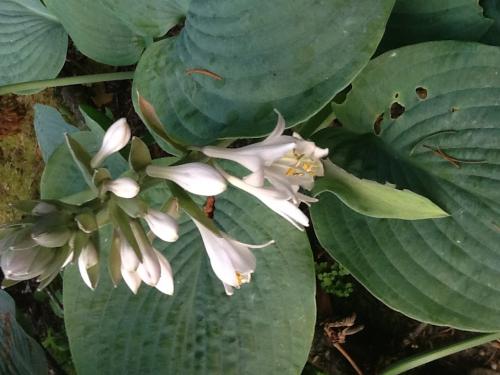
First Ostia blooms ( photo / image / picture from Jewell's Garden ) 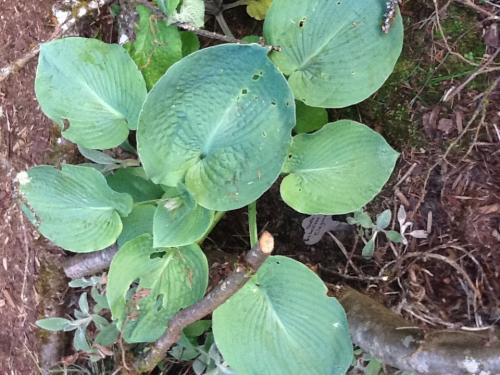
Elgens ( photo / image / picture from Jewell's Garden ) 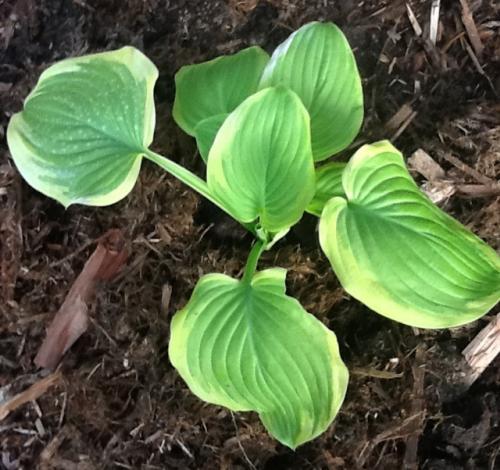
Hosta 'fragrant bouquet' ( photo / image / picture from Jewell's Garden ) 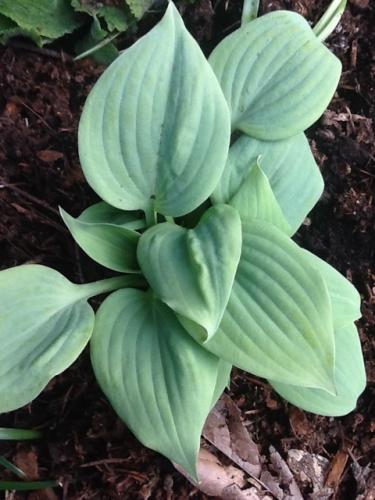
Hosta 'fragrant blue'. Love the blue leaves . ( photo / image / picture from Jewell's Garden ) The best were the dollar plants from the Master Gardeners plant sale. no names, but names are hard to remember any way. Needed some more to fill in the bare spaces. 
1 of 2 hosta. Varieties ( photo / image / picture from Jewell's Garden ) 
2nd hosta variety ( photo / image / picture from Jewell's Garden ) The worst were the very small cuttings I got online. Made me believe I could do best buying local and big box. Those poor plants still are just developing One last green photo. 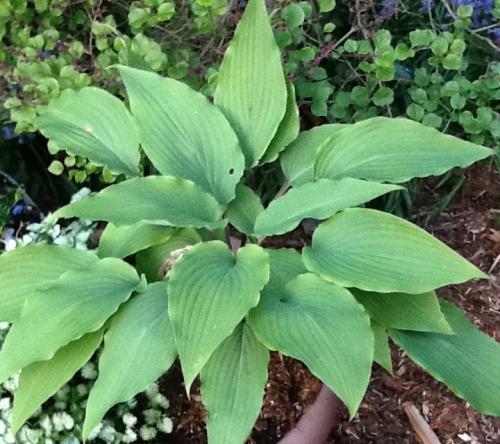
Red October only has reddish stems, but I really like it ( photo / image / picture from Jewell's Garden ) This blog entry has been viewed 338 times
Stock Piling and Garden Potting Bench
Category: Starting and Maintaining the Garden | Posted: Sun May 12, 2013 6:35 pm Those shutters with a little paint and stockpiled lumber 'fancied up' my potting area. I am on the third and hopefully final placement for my potting bench. Since we now spend evenings and week-ends sitting out in the woodland garden I am still in the process of hiding the utility parts of a garden..The corner I chose of the back yard was pretty much unused. It can be seen from the office back door though so I wanted the mess I create to be hidden. 
Looking at the potting bench from the back gate ( photo / image / picture from Jewell's Garden ) 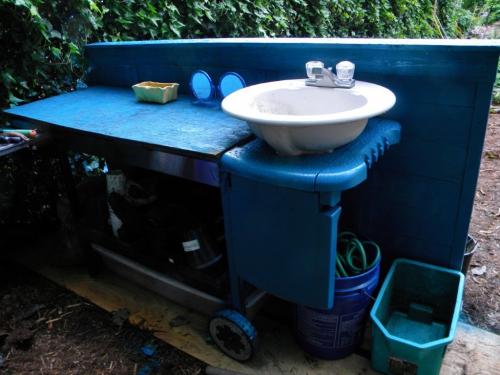
Potting bench with a new coat of paint and sink installed ( photo / image / picture from Jewell's Garden ) Of course this is probably the cleanest it will ever be. We've decided the old bench will also get a coat of paint, and I can't wait to tackle the next shutter project 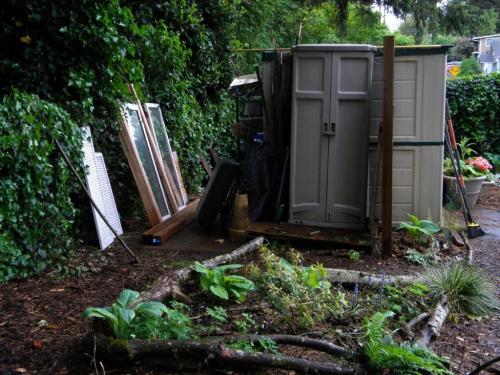
Next..doors/gate to hide gardening essentials ( photo / image / picture from Jewell's Garden ) Of course this will all probably lead to painting the front of the shed a matching blue...after it gets cleaned 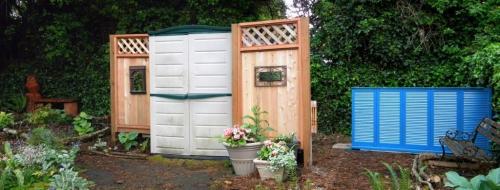
Shed to be painted? ( photo / image / picture from Jewell's Garden ) One project just leads to another ... sigh This blog entry has been viewed 548 times
Stock Piling
Category: Starting and Maintaining the Garden | Posted: Sat May 11, 2013 10:57 pm I want to finish hiding the vinyl sheds and have been struggling with how to finish the project. I stumbled across some double wood exterior shutters at the ReStore Store. They were only $3 each. I wasn't sure what I'd do with them, but I picked up a couple on my stop-in visit after work yesterday. This morning I was back to the store and bought all they had. They are going to be perfect once painted a blackened turquoise to hide my potting area. The rest will be used to make a screen in front of the last vinyl shed. 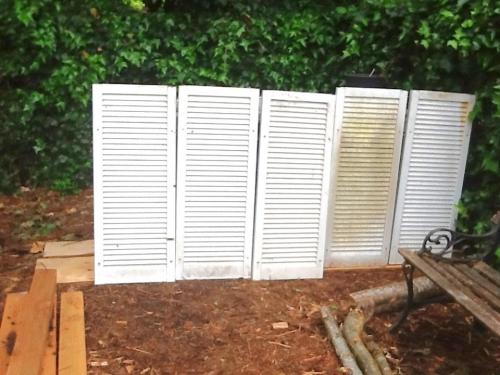
Trying out the idea of shutters for a screen in front of the potting bench ( photo / image / picture from Jewell's Garden ) If any are left I will use them as decorations for a small cold frame/green house I am contemplating. So far I have stockpiled a few windows. They also had some mixed spindles that I loved for a $1 a piece that were brand new varnished oak. Still haven't found the 'right' door. I'm also on the look out for something for the roof: tin or ...? I will just have to keep visiting the ReStore. It is better than the Goodwill or Garage Sales. :) 
A few stockpiled items ( photo / image / picture from Jewell's Garden ) Last edited: Sat May 11, 2013 11:01 pm This blog entry has been viewed 370 times
Comments (0) | Leave a Comment | Permalink
You're reading one of many blogs on GardenStew.com.
Register for free and start your own blog today. |
Entries by Category
All Categories
|
