|
Recent Entries to this Blog
Annual Garden Sale
Posted: 17 May 2012 Posted: 22 Apr 2012 Posted: 08 May 2011 Posted: 19 Nov 2010 Posted: 09 Aug 2010 All Entries |
Free Plant Tags
After stepping on some plants that were just peaking thru the soil, and now buying some new varieties of salvia. I think some plant markers might be a good thing. I've used just about anything in the past, twigs stuck in the ground,(no way of knowing what was there just keeps me from trampling it) Cut old mini blinds and a marker, wood shims with a marker. 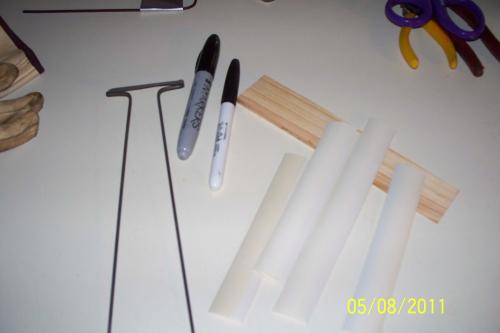
plant markers1 ( photo / image / picture from featherphobia's Garden ) I believe we've all used some form of these same things. I even bought some of the very expensive ones. If you use a maker on them the name fades just like free mini binds. I goggled free plant markers, found a guy on The Stew who used on soda cans, Sounded good except for the sharp edges. I tried to fold the edges in on them selves, but it took a long time and made it look crinkled. Then you still had to find away to attach it. 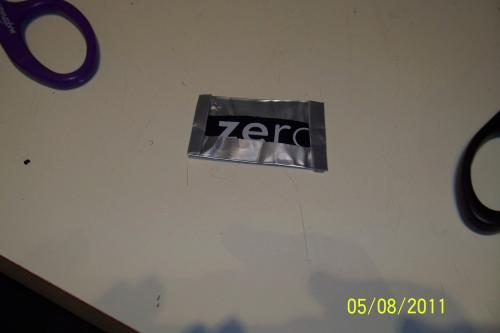
first tag ( photo / image / picture from featherphobia's Garden ) Then, I remembered the ones I purchased having seen it a few days before only had one left). I dug it out and made a new plan. At the flower Shop we got orchid plants in with plastic coated wire supports, we replaced them with bamboo trellises. The wire was kept, it did not have a purpose we just kept it. When the shop closed I took a hand full of wire.it was headed for the trash. First cut the top and bottom of the can off, I used kitchen shears. 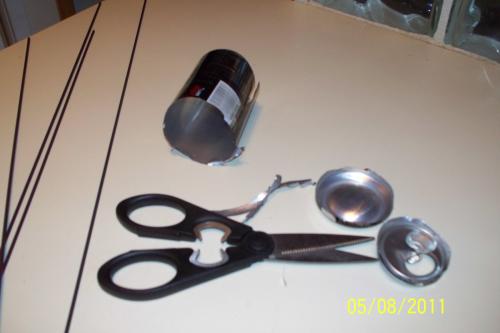
top and bottom cut off ( photo / image / picture from featherphobia's Garden ) If your afraid of getting cut wear leather gloves. I next cut the remaining piece in to four pieces. Bending the wires of the orchid plants into a "u" shape with three fingers width in the u. I rolled the can pieces around the wire legs. Wearing the gloves made this step easier. 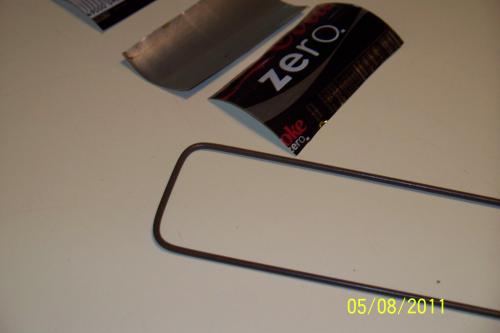
can piece and wire leg ( photo / image / picture from featherphobia's Garden ) 
leg wrap ( photo / image / picture from featherphobia's Garden ) Look! I did it made some plant tags. I used a pecan picker to write on the tags, but any thing would work. 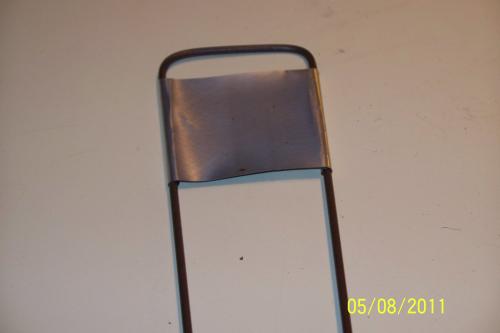
can plant tag completed ( photo / image / picture from featherphobia's Garden ) and here it is in the garden marking the name and presence of the new salvia. 
salvia marker ( photo / image / picture from featherphobia's Garden ) 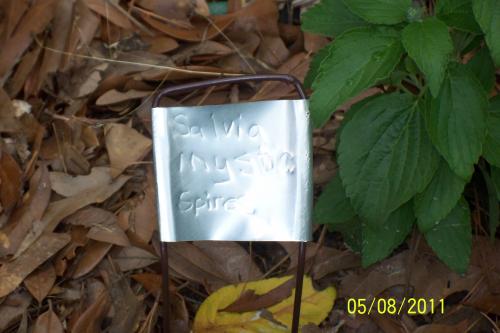
tag doing its job ( photo / image / picture from featherphobia's Garden ) This blog entry has been viewed 9139 times
You're reading one of many blogs on GardenStew.com.
Register for free and start your own blog today.
What a great idea!! Even better is the fact that the names of the plants won't wear away with time so you'll always know what you've got planted!!
Oh, so you 'dented' the plant name into the metal? The ingenuity of Stew members never ceases to amaze me! Great job FP.
My daughter works at a pet supply store, one of her jobs is engraving dog names and their owners phone numbers on tags..Thought about using dog tags but they are costly too, even with her discount. Login or register to leave a comment. |
|

